
Secrets: 3
Kills: 14
Pick-ups: 7
PS Save Crysrals: 1


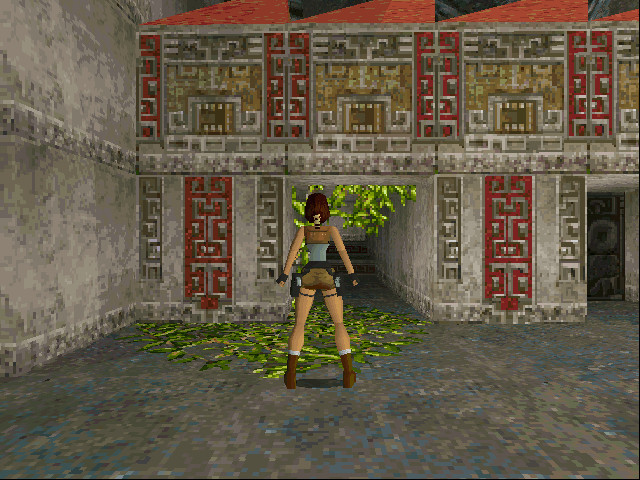
The level opens with an FMV. Lara and her guide walk through the snowy mountains of Peru. They find a set of double stone doors which are closed and after examining the symbols at the top Lara uses a grappling hook to get to the ledge above. She climbs to the top and presses one of the symbols. The doors open and the guide is attacked by four wolves. Lara cuts the rope, drawing her pistols at the same time, and shoots the wolves but is too late to save her guide. She realizes he is dead and goes through the doors alone. They close behind her and she takes a quick look back. She takes off her glasses and from her glance we realize that her adventure has just begun.
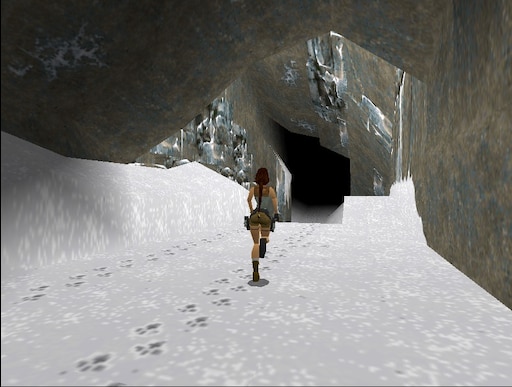
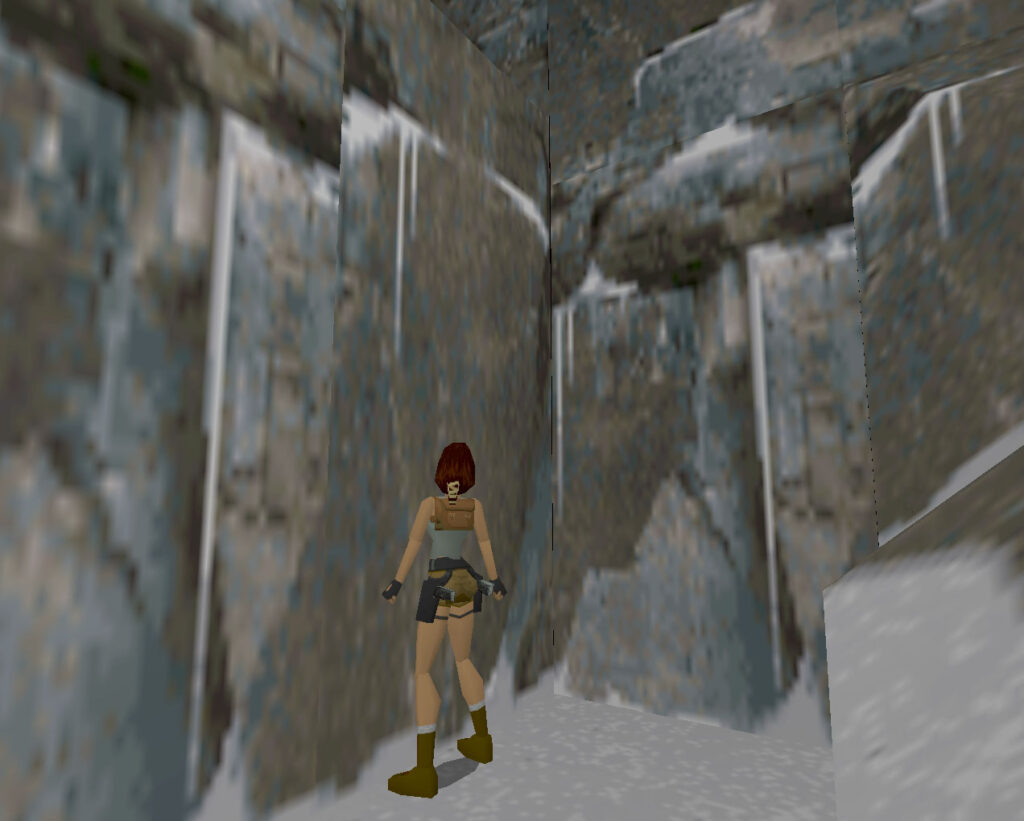
Run through the cave, following the footsteps. When you pass the stone block on the left hand wall, take a moment to examine the slits in the walls. Darts will come from them when you move forward and if one hits you, you will lose health. You can either start running/ jumping over the darts, or walk slowly, triggering the darts and using the Look button to dodge them. Continue through the cave and if you have your weapons holstered, Lara will look up at the opening on the left hand wall.
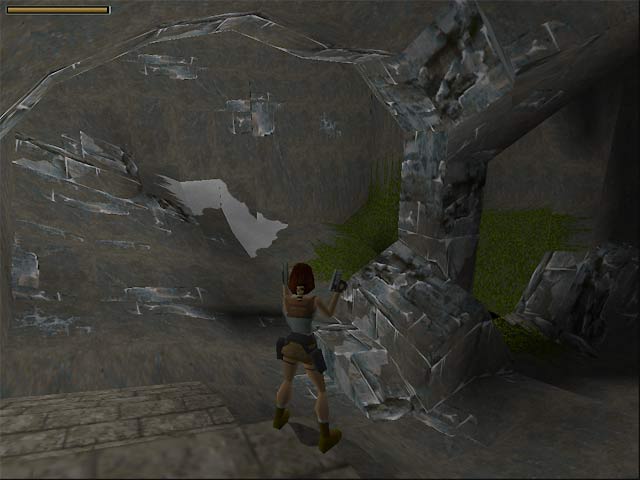
1st Secret – Before heading up there, proceed to the end and take note of the angled block and the opening in the cave roof at the far left. Stand against the back of the block and jump up to grab it. Pull up, slide a bit and jump to grab the edge of the opening. Or, stand beneath the opening, back-flip onto the angled block and keep pressing the Jump button along with Action to grab the edge. Pull up and pick up the Small Medi Pack. Then return back to the opening you bypassed earlier.
Climb up the blocks of the opening and draw weapons. As you move forwards, three bats will attack. Kill them.
2nd Secret – Before going to the other side of the cave, turn left and enter the cavern. Notice the opening up on the right hand wall? Stand on the left, where the snow bank is higher and jump up to grab the edge. (Press Up and Action. Lara will not grab the edge if you press Jump. Thanks to Simulation for the reminder.) Pull up and kill the bat that guards the Small Medi Pack. Pick up the Medi Pack and return back.
Go on with your business and follow the other part of the cave. Go through the opening to reach an area with greenery. At the far left you will find a large opening in the floor. Drop through it and use the switch to open the door. Enter and kill the bat here. Climb on the blocks at the far left and pull up into the upper room. Follow the passage to reach an area with two wooden bridges.
Room with two wooden bridges – Two wolves are lurking below. Kill them from here. Now you can either take a running jump and grab the ledge next to the first bridge or use the walkway and go around, crossing the first bridge. Then cross the second one and go through the opening. If you accidentally fall down, use one of the various spots where you can climb back up. One is the ledge with the mummy thing statue and another is the low block beneath the right hand side of the first bridge (right, if the entrance is to your back).
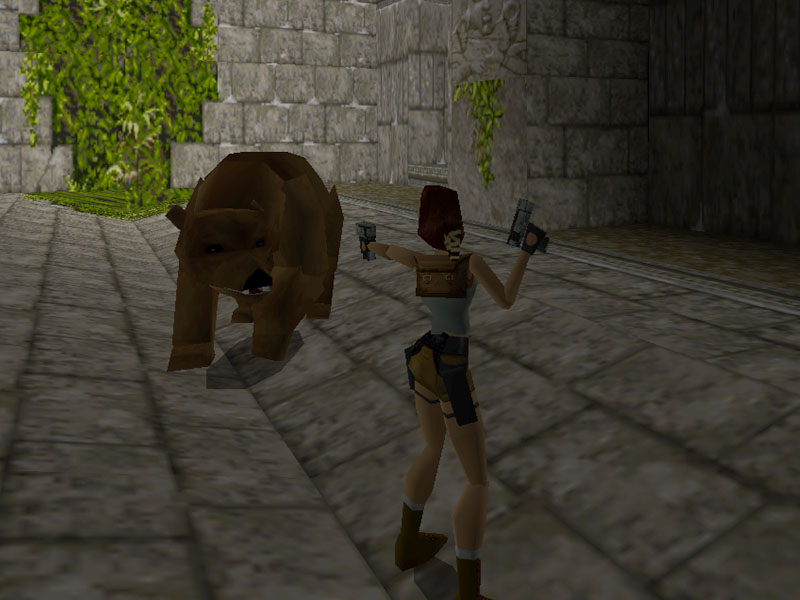
Area with bear – You come across a pit with a bear at the bottom. Draw weapons and kill it from above. If Lara cannot aim at it, take a running jump to the opposite side, turn around and once Lara aims at it, shoot it. It requires just a few shots. Then drop into the pit and go through the opening. Kill the two bats that attack. The stone door opens when you step on the carved tile. First pick up the Small Medi Pack, then step on the tile again and quickly go through the door that closes after a few seconds. You find yourself at the bottom of the room with the two bridges. Go to the far right, where the mummy statue is and climb up to the upper ledge. Cross the bridge and return back to the area with the bear pit.
Take a running jump to the opposite side and pick up the Small Medi Pack from the far left and behind the pillars. (The PS players will also find a Save Crystal in this area.) Go down the steps with your weapons drawn. When you pass through the greenish opening, two wolves will come. Start shooting whilst jumping backwards. If it is too hard for you, turn around and run back up the steps. Then take a running jump to the side you came from and kill the wolves from safety.
Area with greenery and timed double doors – Go down the steps and proceed ahead.
3rd Secret – Do not go down the right hand steps yet. Proceed to the end where the pillars are and notice the greenish square ledge jutting out from the wall (see this screenshot if you cannot find the ledge). Take a running jump there and go through the opening. Pick up the Large Medi Pack and return back.
Just beneath the entrance, you will find a Small Medi Pack in an alcove. Pick it up then climb up the blocks to the switch. This opens the double doors on the left, but they are on a timer. There are several methods you can reach the doors and here is one: Use the switch, by standing a bit to the left of it (as shown here). Press the Look button to break the camera and side-flip on the lower ledge to the left. Turn left and take a running jump with NO Action. That way you will land on the ledge above. If you side-flip and land on the ground just next to the lower ledge, do not hesitate to turn left and climb on it. You have plenty of time in order to complete the process.
Once you pass through the doors, go up the steps, but stop when you reach the second flight. Walk on the steps to trigger the darts, then carefully pass them. In the next room a wolf will come from the back left. Take care of it. Jump over the decrepit floor to crash it, then drop into the room below. Go around the perimeter of the room, jumping over the gap. When you approach the Large Medi Pack, a wolf will emerge from the far right opening. Kill it, pick up the Medi Pack and go into the passage where the wolf came from. Flip the switch to open the doors on the lower area, return back and slide down to the passage next to the doors. Do not go to the other end of the passage. It is protected by darts and there is nothing over there anyway. Go through the doors to end the level.
Secrets: 3
Kills: 29
Pick-ups: 13
PS Save Crysrals: 2


As soon as the level begins, the stone doors ahead open. Draw weapons and enter the room beyond. Four wolves will attack: the first will come from the far left, the other two from behind and the last one from the far right. You may have troubles with them, as they attack all together. One way to deal with them is to run to the left and jump or dive into the pool. When the area around is clear, climb out of the water and shoot. If they approach, drop back into the pool.
Once you kill them all, go through the passage the last wolf came from (far right if the entrance of the level is to your back). In the next room, you will have to deal with one more wolf. Here you can see two openings. As you face them, go through the right hand one to reach a narrow passage. Kill the three bats and continue to the end of the passage. Stay sharp because a wolf may attack before you get the Small Medi Pack from the greenery.
Once the wolf is history and you have retrieved the Medi Pack, continue through the passage until Lara comes across a closed door with a keyhole on the right hand wall. Beyond you will have to kill five more bats and once they are dead, go up the two steps and around the corner on the left. Take the first left (the area ahead leads to the beginning of the level) and kill one more bat. When you reach the end of the passage, turn around and kill yet another bat.
Area with pool – Exit to the area with the pool. There is a room on the right hand side, which has two openings. Between the openings you can see a wooden trough. Go through the right hand opening and quickly run diagonally to the right to climb on the wooden ledge. Kill the bear from above and pick up the Small Medi Pack. Then drop back down and exit to the area with the pool.
1st Secret – Jump into the water and swim through the tunnel. On the T-junction, go right. You reach an underwater room with several pillars. Swim to the far right corner, where you will find an underwater lever. Pull it to open a trapdoor exactly above you. Surface to get some air, but before climbing out, swim back down and diagonally to the other side of the room, where you will find another underwater lever. This opens a door elsewhere, which gains you access to the level’s second Secret that you will get in just a bit (this image shows the location of the two levers). Swim back to the trapdoor and climb out of the water. Pick up the Small Medi Pack and use the switch to open the door. Exit to the area with the pool.
2nd Secret – Jump into the pool again and this time go left at the T-junction. Follow the tunnel until you can surface. Climb out of the water and go through the door you opened by using the second lever before. Inside, you will find a Small Medi Pack and some Magnum Clips. Make your way back outside the same way you came.
With the wooden trough to your back, locate the switch on the far right. Use it to open the nearby door. Go through it and up the steps. Take a running jump to the opposite opening, pressing Action to lower Lara’s arc if necessary. Drop to the decrepit floor below and run. Jump at the edge to land on the ledge with the Large Medi Pack in the alcove. If you miss the jump, pull the movable block once, climb on it, then climb to the ledge with the Medi Pack.
Push the movable block through the passage until you reveal the room beyond. Kill the bat and continue to the other side. You will find a Silver Key and a Gold Idol in the two back alcoves. When you get them, climb on the movable block, then onto the ledge above. (The PS players will find a Save Crystal here.) As you move around to the left, you will have to deal with two more bats. Pick up the Large Medi Pack from the dark corner on the left of the opening. Then climb into the opening and drop down. Return to the area with the pool.
Go through the passage where two stone idols flank the entrance. Use the Key you just got to open the door. Enter carefully. A dart trap has been set up here. If you use the Walk button, you will be able to first trigger the darts, then carefully pass them. Before entering the next area, draw weapons. Again, enter slowly. As you pass through the opening, turn right and kill the first wolf. Continue slowly and Lara will aim at a wolf on the left. Kill it and proceed ahead. Kill the third wolf that wakes up from the left and the final two that come from beyond. Go up the steps.
Left hand opening – The only accessible opening for now is the left one. Go through it and follow the passage to reach a room with a pool. Go up the steps on the left hand side and jump to grab the ledge. Pull up and jump to the ledge in front of the opening. Go through it and up the steps. When you come to the next opening, a bat will attack. Kill it and take a running jump to the opposite ledge. Go through the opening and up the steps. When you enter the next room, a second bat will attack. Kill it and pick up the Small Medi Pack from the corner. Then use the switch to open the right hand door below. Exit, hang from the edge and drop to the rocks below. Pick up the Shotgun Shells and carefully drop to the red\ orange platform. Pick up the Small Medi Pack and drop to the ground.
Right hand opening – Go through the right hand opening to reach another room with a pool. Go left and jump to grab the square ledge. Pull up and take a standing jump with Action to grab the next ledge. That way, you will not have to deal with the decrepit crumbling floor ahead. Pull up and turn around. Jump up to grab the ledge above and pull up. Draw weapons and kill the bat that comes from the opening on the right. Go up the steps and use the switch to open the middle door. Exit (the PS players will find a Save Crystal here), hang from the edge and drop to the rocks below. Drop to the red\ orange platform and then to the ground.
Middle door – Go through the middle door and continue cautiously. There are three moving blades in the hallway. Stand on either side and when the blade moves to the other side, run past it. At the end you will see a closed gate and a switch. Use the switch and a trapdoor beneath Lara will open, dropping her into a pool. Swim down and forwards, where you will find a place to surface. Do not climb out of the water. Instead, swim through the opening to find another place to climb out. Do that and go up the steps. Exit to a ledge above the pool and use the switch to open a gate with an Idol symbol. Walk up to the edge of the ledge and kill the bear from here. Drop down, but before placing the Idol to the receptacle, let’s go for the level’s final Secret.
3rd Secret – Facing the Idol symbol, go left and up the steps. Here you will find a switch that stops the moving blades, but obviously there is no reason to go back. Facing the steps you came from, enter the passage on the left (as shown here) and climb down the blocks. Pick up the Uzi Clips and return back to the pool the same way you came.
Place the Gold Idol to the receptacle. This opens the Idol door that you can go through and progress to the next level.